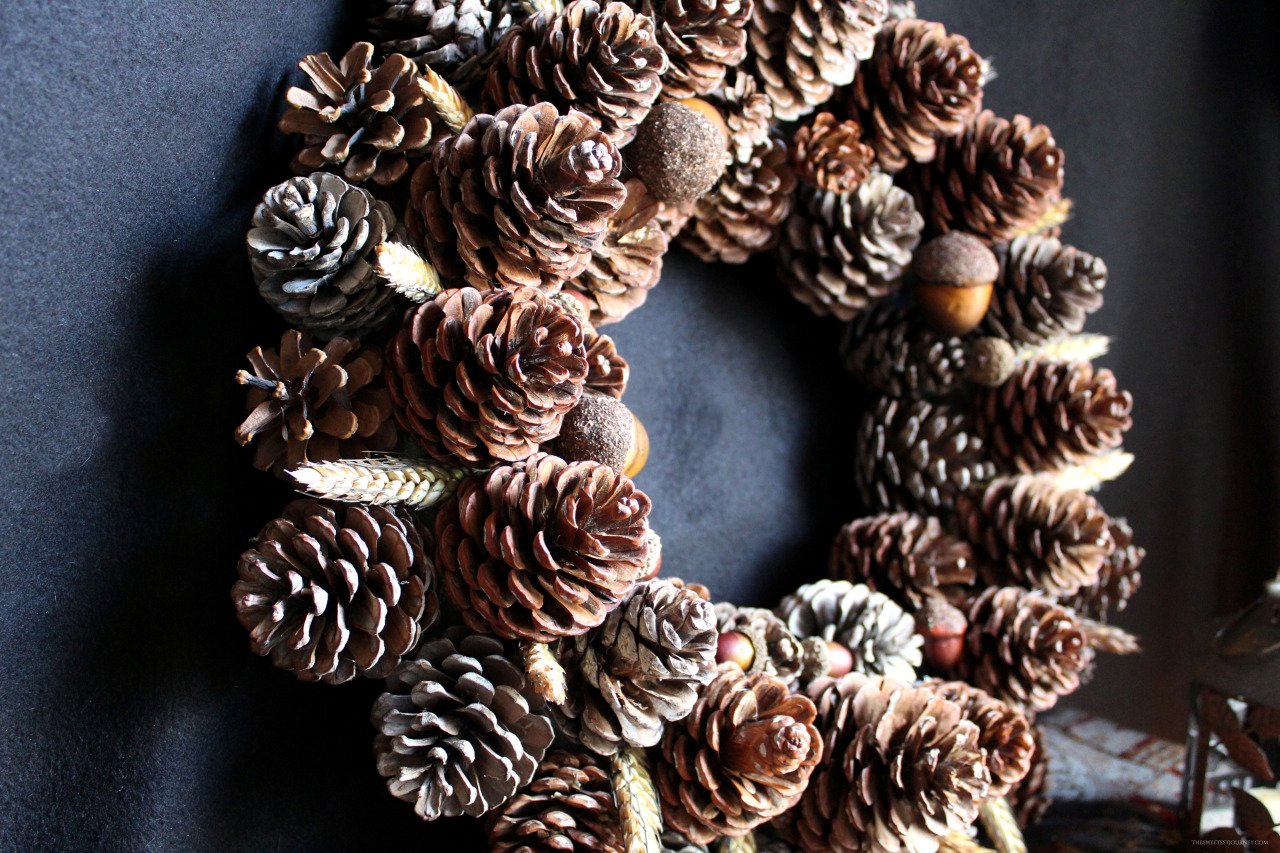
Learn how to make a pine cone wreath that is a perfect DIY project for Fall. This Autumn wreath can be used as a door or wall hanging, mantle piece decor, or a centerpiece.
Materials:
Pine Cones, Washed and Dried
Decorative Acorns
Dried Wheat Stalks, Trimmed
Glue Gun
Scissors
*The amount of pine cones needed depends on how big your wreath ring is and on the sizes of the pine cones.
Directions:
Attach the larger pine cones to the top of the wreath by either applying the glue directly to the wreath or to the bottom of each pine cone. Hold each pine cone in place a few seconds to let it adhere to the wreath well before moving on to the next. Repeat the process all the way around the wreath. Let the glue dry completely before moving on to the next step.
Hold the wreath upwards on its side and attach the smaller pine cones to the inside of the wreath. The pine cones should be glued on their sides and with their points towards the top of the wreath. Place them as close as possible to each other.
Lay down the wreath again and this time attach pine cones going around the outside of the wreath. Each pine cone will be attached at its bottom and will be more at and angle and touching the top pine cones.
Fill out any empty spaces around the outside of the wreath by attaching the wheat stalks between the pine cones. This will keep the foam ring from showing through. Next, cover any empty spaces at the center of the wreath with the acorns.
Let the wreath dry completely before using.