Learn how to make adorable felt owl decorations. 🦉🍂
Materials:
Hot Glue, Craft Glue, and/or Felt Glue
Needle & Thread
Scissors
Directions:
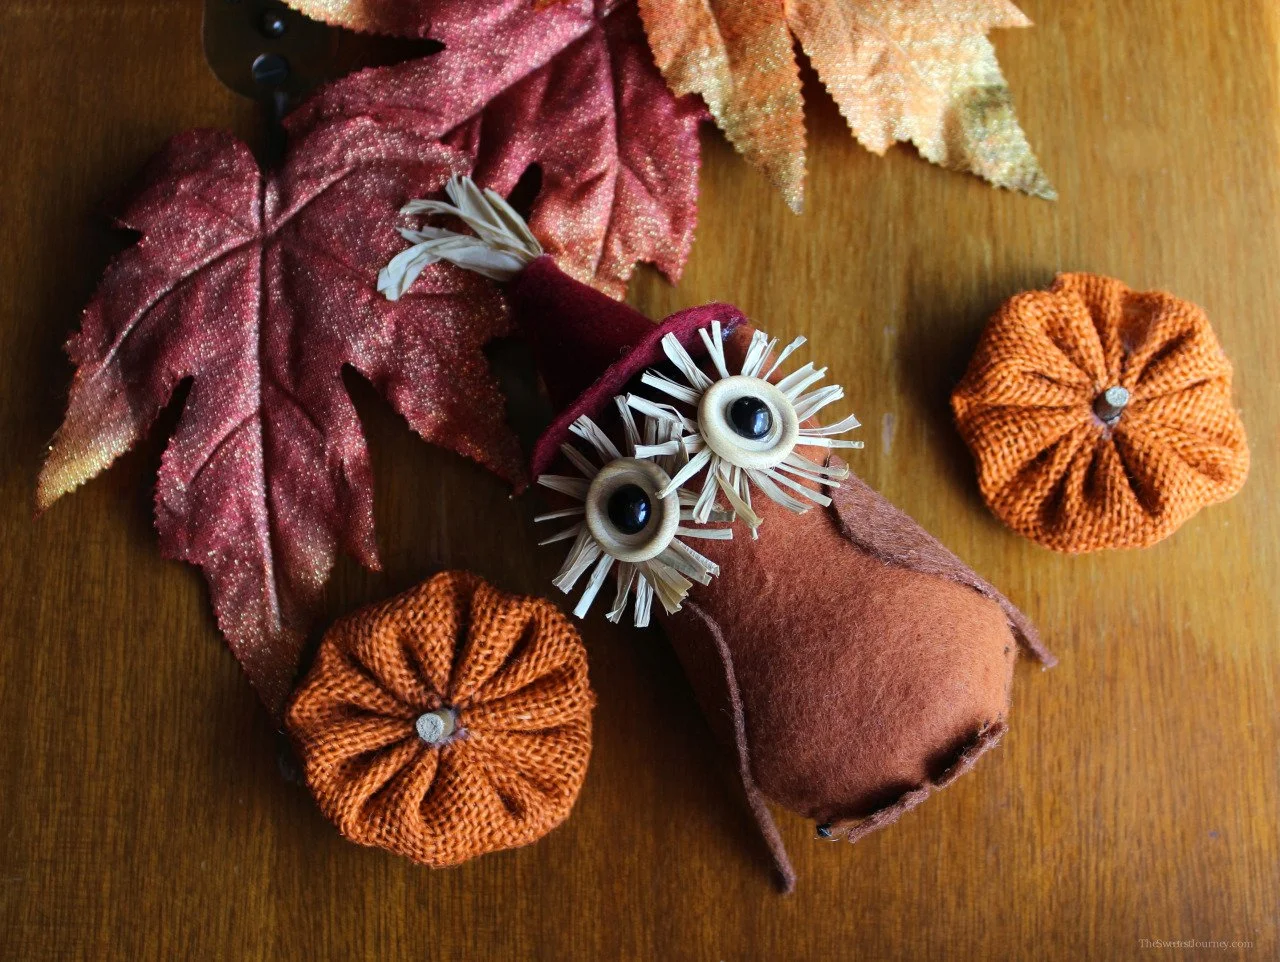
To make the eyes, cut the raffia into small pieces about 1 inch in length. Place small beads of glue on the back of one wooden button and attach each piece of raffia to it so that they fan out around the button. Repeat the process with the other button. Next, attach the black beads to the front and center of each button. Set the eyes aside and let dry.
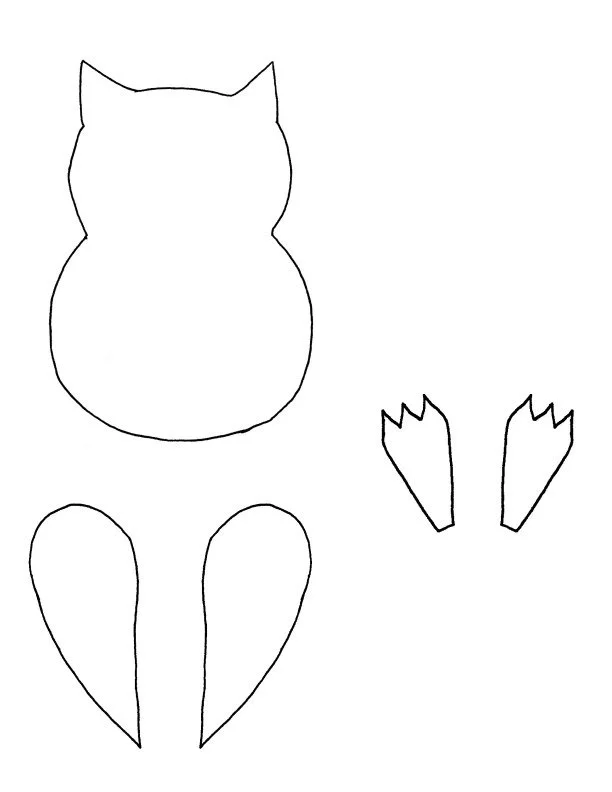
Trace and cut two owl shapes from the light brown felt leaving about 1 cm of extra space around the owl. Afterwards, trace the same shape on the owl cutouts. This will serve as a guide when sewing the two pieces together. For this step, you can either sew the owl cutouts together or use felt glue around the edges. If sewing, follow the line traced before, make sure the stitches are close together, and leave an opening at the bottom of the owl. When finished, turn the owl completely inside out so that the stitches and seam are now inside.
Fill the owl with the filling and sew or glue the opening close.
Attach the eyes to each side of the owl face. Let dry.
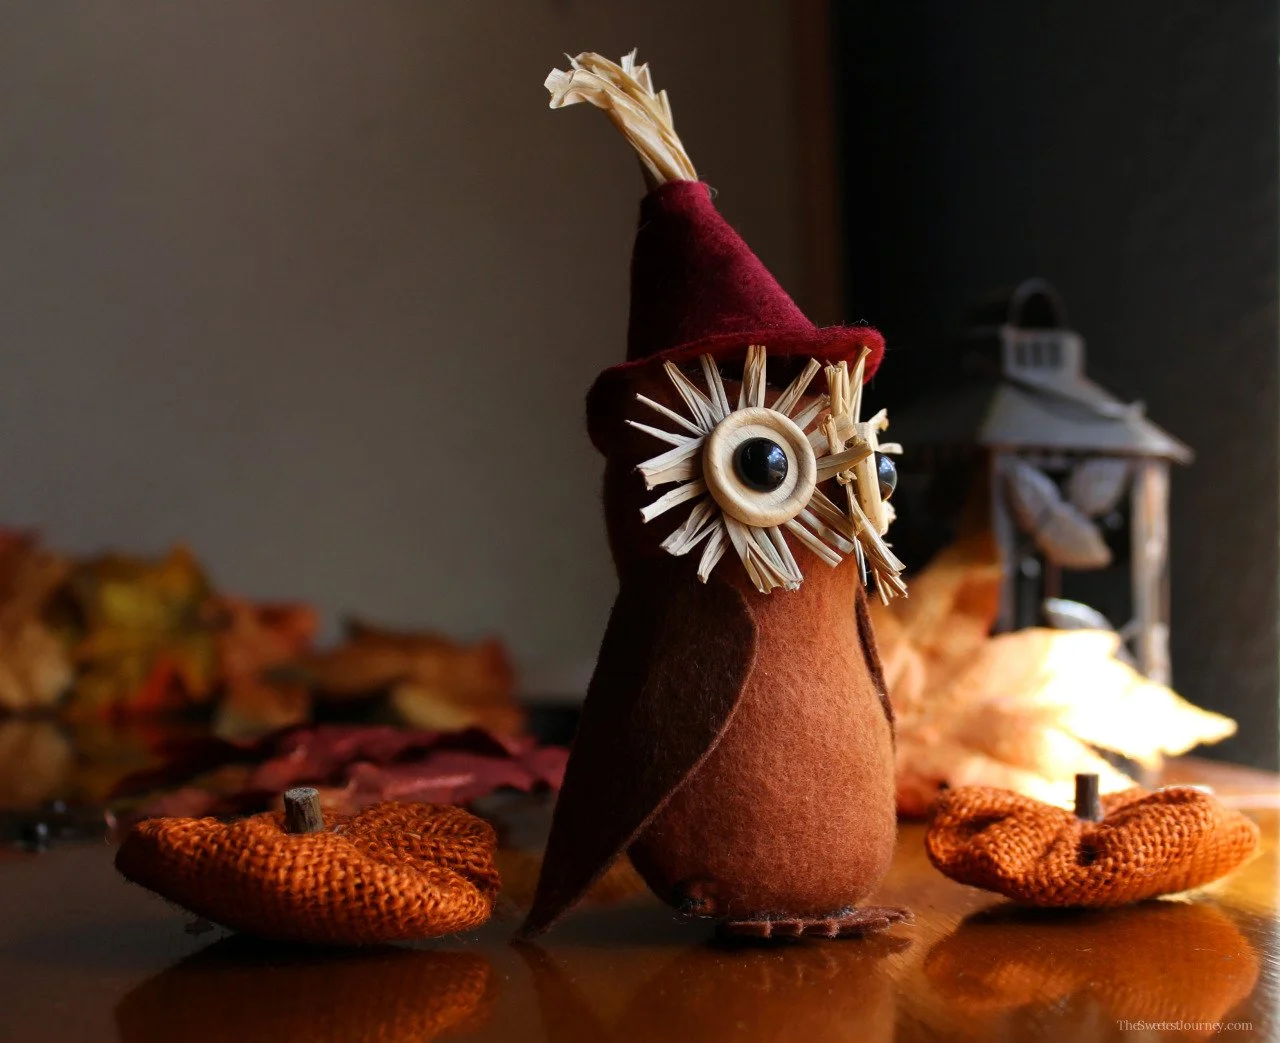
Trace and cut two wings out of the dark brown felt. Place glue only at the top section of each wing and attach to the sides of the owl. Out of the same felt, cut out two feet. They should be triangular in shape with three small triangles and the top of each foot for toes. Glue them close together at the bottom of the owl.
To make the little hat, cut a half circle about 4 inches in length out of the burgundy felt. Then,fold into a cone shape and glue togther. If needed, round the bottom of the cone with scissors until even. Cut off the tip of the cone. Place the cone at the center of a small piece of felt of the same color. Cut around it to create a brim about 1 cm wide. You should end up with a circular shape. Fold this circle in half and cut a small slit at the center making sure not to cut all the way through. Then, fold the opposite way and make anther slit. You should now have a cross or “X” cut out at the center of what will be the hat brim.
To finish the hat, first place a small amount of glue at the tip of the hat and insert small pieces of raffia into the tip so that they stick out of the cone. Next, place a dot of glue on each section of the “x” at the center of the hat brim. Place the cone over the brim and press the sections into the cone so that they are attached together. Let dry.
Place two dots of glue on the top of the head of the owl and attach the little hat to it. Let the owl dry completely.