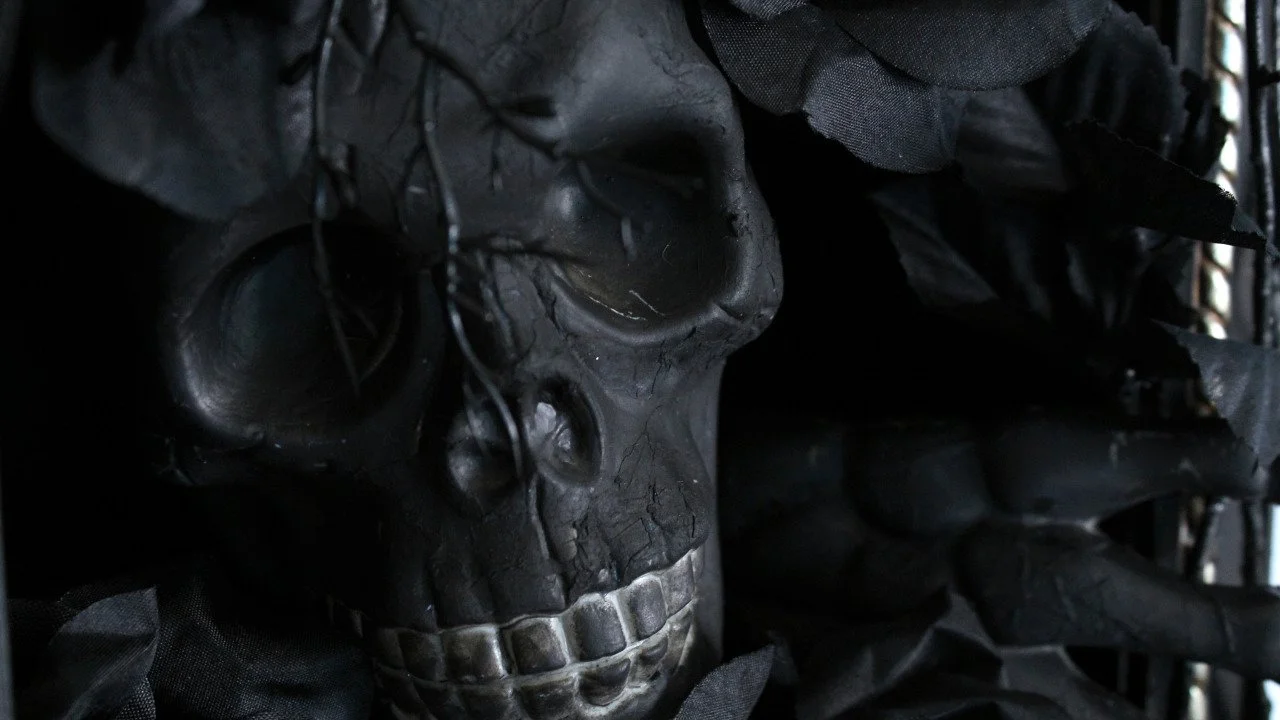
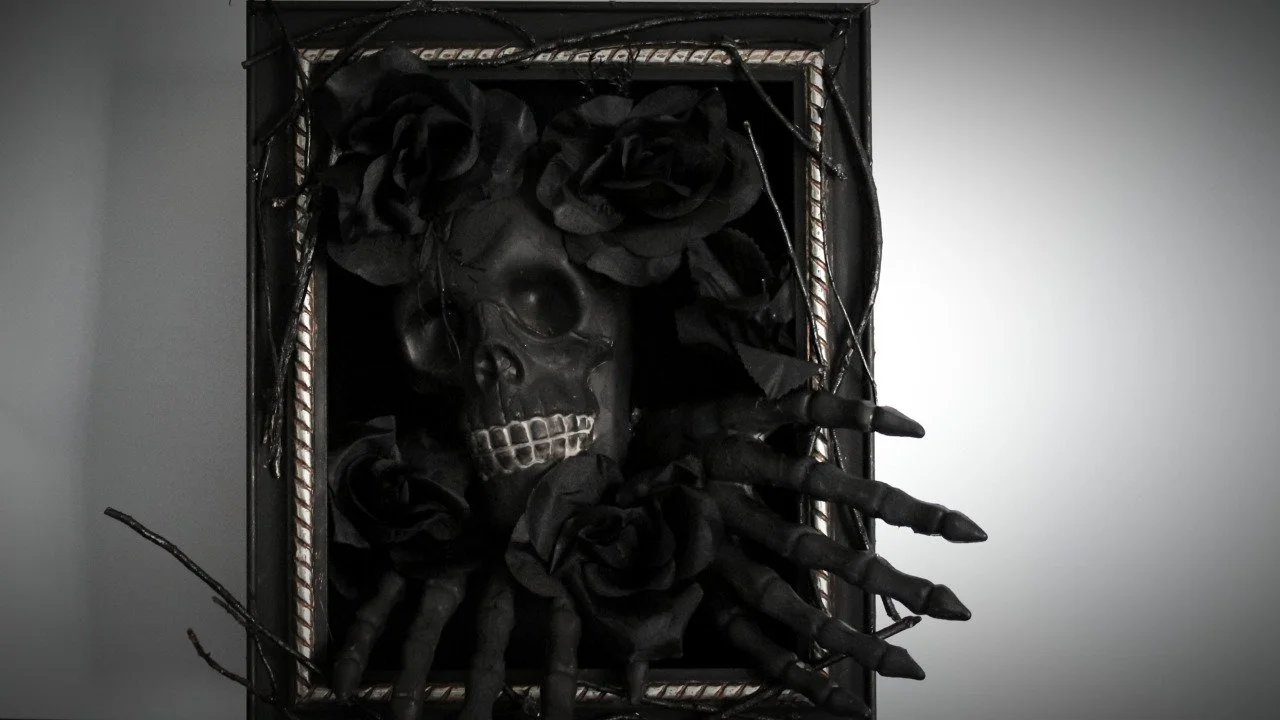
Learn how to make a creepy Halloween skeleton piece to decorate your home with. 🎃💀
Materials:
Plastic Skull & Skeleton Hands
Black Roses
Black Branches
Black Picture Frame
Shoe Box (That will fit the picture frame.)
Tissue Paper
Black, Brown, White Acrylic Paint
Scissors
Glue Gun
Sponges
Paint Brush
*For the branches and picture frame: I used an old frame that I then painted with black matte acrylic paint, and I collected sticks and branches outdoors, washed them, then painted them with a metallic black paint.
Directions:
In a small container, mix a bit of the black paint with brown and a drop of white. The result should be a dark color that isn’t completely black. Using a sponge, lightly cover the skull with a layer of this paint. Before it dries, place a damp piece of tissue paper on the painted areas. (The wrinkled tissue paper will give the illusion of peeling skin.) Then carefully go over it with another layer of paint. Continue on until the whole skull is covered. Repeat the process to cover the skeleton hands. Set these aside and let dry completely.
Paint the whole shoe box, inside and out, in black paint and let dry. (You can use any black paint. For this, I am using matte black paint to contrast the shiny black branches we are using later on.)
Arrange and glue the branches to the picture frame, then let dry completely. Once the shoe box and frame have dried, apply glue along the edges of the box and attach the frame to it.
Arrange and glue the skull and skeleton hands inside the box in a way that looks as if the skeleton is coming out of the box. After gluing each piece, hold it down for a few seconds to let it adhere completely.
For the last step, arrange the black roses around the skull to cover empty spaces. Let the decoration dry completely before using it.