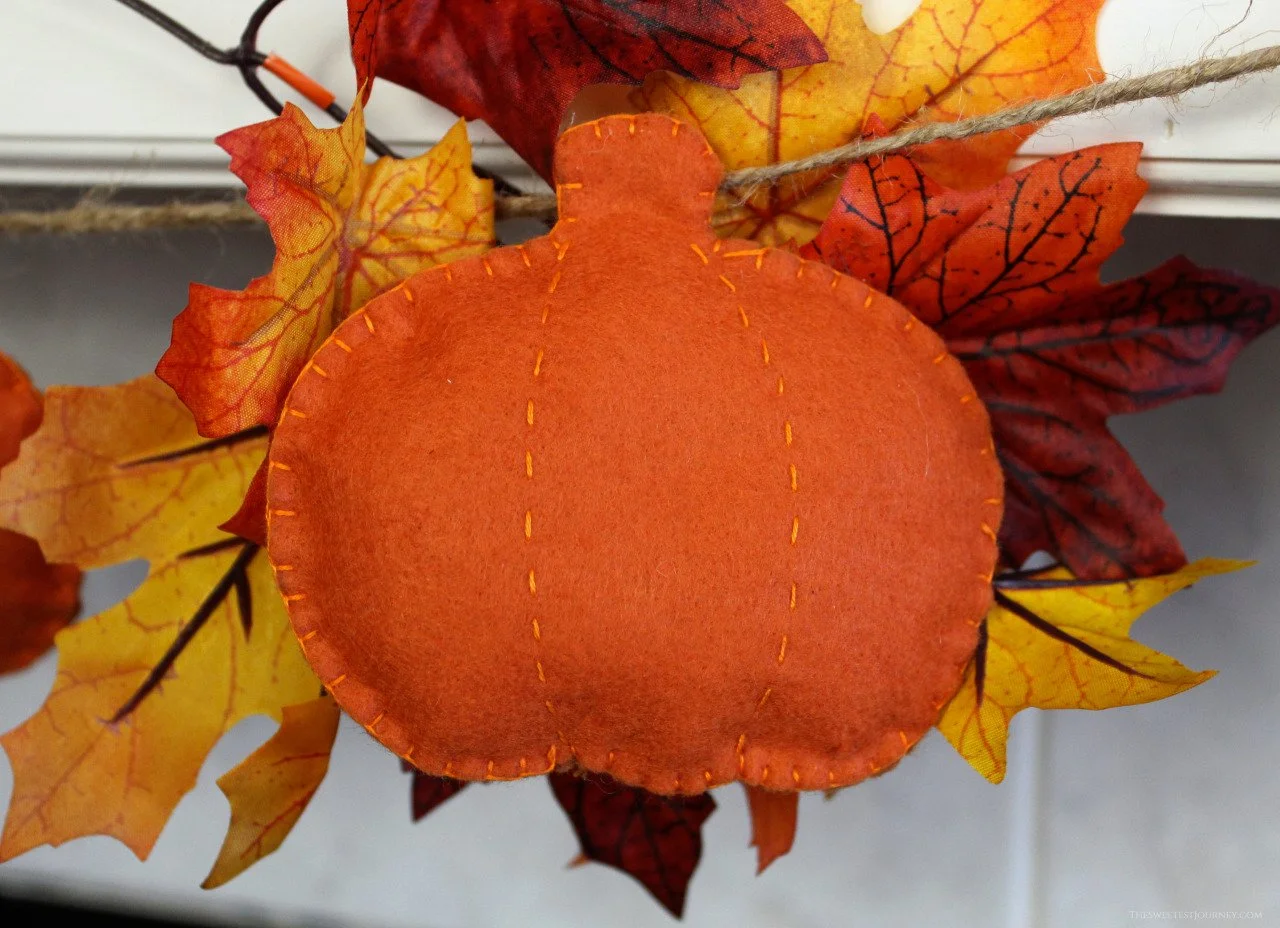
Learn how to make a lovely felt pumpkin garland to use as a hanging Fall decoration. 🎃🍂
Materials:
Jute Cord
Orange Thread
Needle
Scissors
Directions:
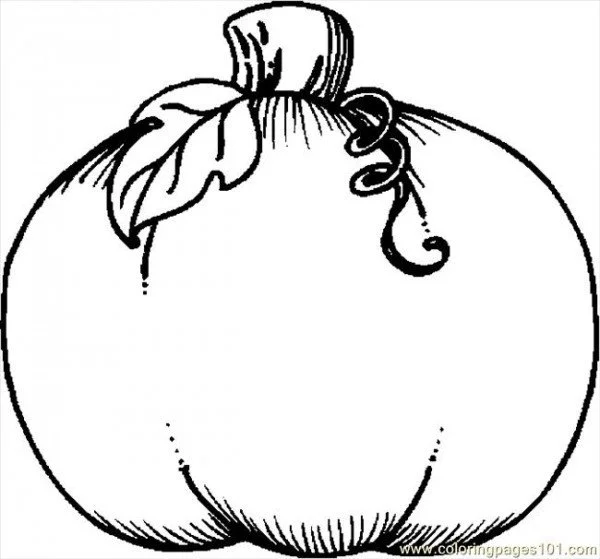
Trace a pumpkin onto the felt using a stencil or cutout. The number of pumpkins you will need depends on the length of your garland and the area you want to cover. For this project, I made 9 pumpkins, giving us a total of 18 pumpkin cutouts. Once you are done tracing the pumpkin, cut out each pumpkin.
This next step is optional as it can take a little more time to make. Using the needle and orange thread, insert the needle from the back of the pumpkin and into one of the center curves at the bottom of the pumpkin. Then insert the needle back into the front side of the pumpkin making a small stitch. We are going to make this simple stitch going up the pumpkin and at a slight curve to create the grooves and curves of a pumpkin. You will do this to only half the amount of cutouts you have because these will be the front sides of the pumpkins. Lastly, tie a knot at the back to secure the stitch.
Next, layer this cutout with another cutout that doesn’t have the stitch. We are going to use a blanket stitch to close the pumpkin. To do this, open the two cutouts and insert the needle at an edge from between the two so that the knot ends up inside. Next, go around the back and insert the needle so that it comes out in the same place as before. Then pass the needle through the loop created before pulling the thread tight. (As if you were making a knot) Continue on by inserting the needle through the back and making sure to pass it through the loop before pulling it tight. For this stitch you will want to keep each space between the stitches about the same size so that it is uniform throughout.
When you have stitched half the pumpkin, insert a bit of the filling, making sure it is evenly distributed inside. Then continue on closing the pumpkin. At the end make a knot to secure it.
From the scraps of felt, cut out a strip about 2 inches long. Apply a bit of felt or craft glue only at the ends, then press one end onto the back of the stem and the other end slightly below the first, making sure the strip creates a loop.
For the cord, again, the length depends on how long you want to make the garland. For this project I measured out 5 feet of cord. To make a loop for hanging, make a loop at the end of the cord, and whilst holding it in place, twist the end around it twice. Then pass the end through the bottom loop that was created. Pull the knot to tighten it.
Hang the pumpkins by passing the cord through the loops created before. Space them out evenly. Finish off the garland by creating another loop knot at the other end of the cord. Now you are ready to hang your garland.
Notes: Each pumpkin measured about 4 inches wide by 3.5 inches tall. The finished garland then covered an area of about 4.5 ft.
*This post includes affiliate links (Commissions Earned)