Materials:
2 Burlap Ribbon Rolls in Red/Burgundy - 5.5in. x 15ft (13.97cm x 4.57meters) Each
2 Fall Decorative Branches
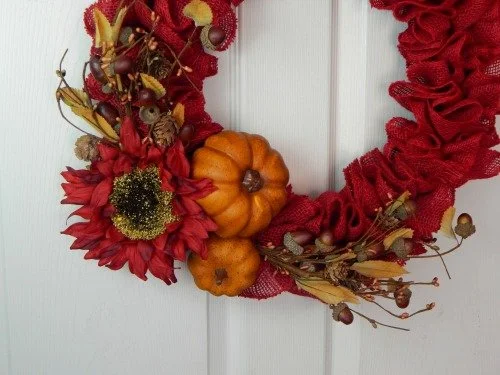
3 Fall Decorations (Small, Medium, & Large Sizes) *I used a sunflower and 2 pumpkins.
Scissors
Glue Gun
Process:
Please watch video for more details.
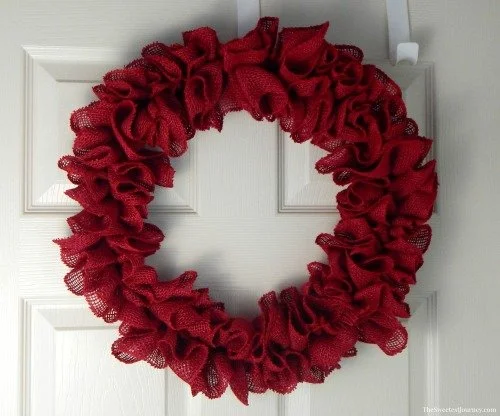
Attach the burlap to the top of the frame with a safety pin. This will temporarily hold the burlap in place. Pull the burlap by its edges through two sections of the frame. While doing this, pull back the burlap so that it scrunches together forming ruffles. (Make sure that each section is held tightly together so that the burlap doesn’t unravel.) Repeat the process until the whole frame is done. If you finish one burlap roll, simply overlap a section of the new roll with the last section of burlap and continue as before.
Once done, straighten out the back of the wreath by pulling on the edges of the burlap. If the burlap was tightly pulled together, it should hold by itself, but you can pin or sew together the two beginning and ending sections of the burlap for extra security.
At the bottom left side of the wreath, attach the 2 decorative branches by passing their stems through to the back of the wreath, then twisting them around the frame.
If the fall decorations you are using have a wired stem, attach them to the outermost section of the frame between the two branches, and, like before, twist their stems around the frame. If they do not have wires, simply glue them directly to the decorative branches.
Let the wreath dry completely before hanging up.